# Install Pomerium Enterprise in Helm
This document covers installing Pomerium Enterprise into your existing helm-managed Kubernetes cluster. It's designed to work with an existing cluster running Pomerium, as described im Pomerium using Helm. Follow that document before continuing here.
# Before You Begin
Pomerium Enterprise requires:
- An accessible RDBMS. We support PostgreSQL 9+.
- A database and user with full permissions for it.
- A certificate management solution. This page will assume a store of certificates using cert-manager (opens new window) as the solution. If you use another certificate solution, adjust the steps accordingly.
- An existing Pomerium installation. If you don't already have open-source Pomerium installed in your cluster, see Pomerium using Helm before you continue.
# System Requirements
One of the advantages of a Kubernetes deployment is automatic scaling, but if your database or redis solution is outside of your k8s configuration, refer to the requirements below:
- Each Postgres instance should have at least:
- 4 vCPUs
- 8G RAM
- 20G for data files
- Each Redis instance should have at least:
- 2 vCPUs
- 4G RAM
- 20G for data files
# Issue a Certificate
This setup assumes an existing certificate solution using cert-manager, as described in Pomerium using Helm. If you already have a different certificate solution, create and implement a certificate for pomerium-console.pomerium.svc.cluster.local. Then you can move on to the next stage.
Create a certificate configuration file for Pomerium Enterprise Our example is named
pomerium-console-certificate.yaml:--- apiVersion: cert-manager.io/v1 kind: Certificate metadata: name: pomerium-console-cert namespace: pomerium spec: secretName: pomerium-console-tls issuerRef: name: pomerium-issuer kind: Issuer dnsNames: - pomerium-console.pomerium.svc.cluster.localApply the required certificate configurations, and confirm:
kubectl apply -f pomerium-console-certificate.yamlkubectl get certificate NAME READY SECRET AGE pomerium-cert True pomerium-tls 92m pomerium-console-cert True pomerium-console-tls 6s pomerium-redis-cert True pomerium-redis-tls 92m
# Update Pomerium
Set your local context to your Pomerium namespace:
kubectl config set-context --current --namespace=pomeriumOpen your pomerium values file. If you followed Pomerium Using Helm, the file is named
pomerium-values.yaml. In theconfigsection, set a list item in theroutesblock for the Enterprise Console:routes: - from: https://console.localhost.pomerium.com to: https://pomerium-console.pomerium.svc.cluster.local policy: - allow: or: - domain: is: companydomain.com pass_identity_headers: trueIf you haven't already, set
generateSigningKeyas false, and set a staticsigningKeyvalue to be shared with the Enterprise Console. See Reference: Signing Key for information on generating a key:config: ... generateSigningKey: false signingKey: "LR0tMS1BRUdHTiBFQ...." ...If
signingKeywasn't already set, delete the generatedpomerium-signing-keysecret and restart thepomerium-authorizedeployment:kubectl delete secret pomerium-signing-key kubectl rollout restart deployment pomerium-authorizeUse Helm to update your Pomerium installation:
helm upgrade --install pomerium pomerium/pomerium --values=./pomerium-values.yaml
# Install Pomerium Enterprise
Create
pomerium-console-values.yamlas shown below, replacing placeholder values:database: type: pg username: pomeriumDbUser password: IAMASTRONGPASSWORDLOOKATME host: 198.51.100.53 name: pomeriumDbName sslmode: require config: sharedSecret: #Shared with Pomerium databaseEncryptionKey: #Generate from "head -c32 /dev/urandom | base64" administrators: "youruser@yourcompany.com" #This is a hard-coded access, remove once setup is complete signingKey: "ZZZZZZZ" #This base64-encoded key is shared with open-source Pomerium audience: console.localhost.pomerium.com # This should match the "from" value in your Pomerium route, excluding protocol. licenseKey: "XXXYYYYZZZZ" # This should be provided by your account team. tls: existingCASecret: pomerium-tls caSecretKey: ca.crt existingSecret: pomerium-console-tls generate: false image: pullUsername: pomerium/enterprise pullPassword: your-access-keyThe Pomerium repository should already be in your Helm configuration per Pomerium using Helm. If not, add it now:
helm repo add pomerium https://helm.pomerium.io
helm repo update
Install Pomerium Enterprise:
helm install pomerium-console pomerium/pomerium-console --values=pomerium-console-values.yamlIf you haven't configured a public DNS record for your Pomerium domain space, you can use
kubectlto generate a local proxy:sudo -E kubectl --namespace pomerium port-forward service/pomerium-proxy 443:443When visiting
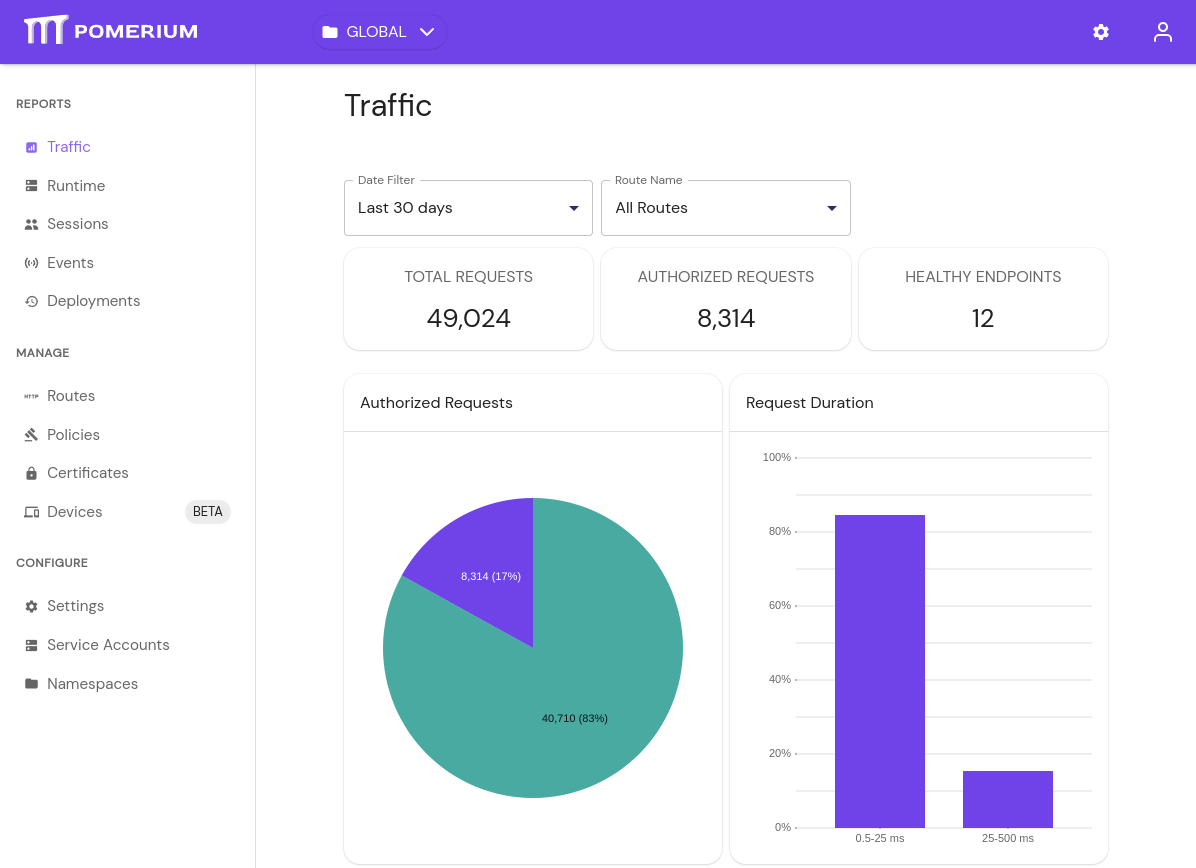
https://console.localhost.pomerium.io, you should see the Traffic:
# Troubleshooting
# Updating Service Types:
If, while updating the open-source Pomerium values, you change any block's service.type you may need to manually delete corresponding service before applying the new configuration. For example:
kubectl delete svc pomerium-proxy
# Generate Recovery Token
In the event that you lose access to the console via delegated access (the policy defined in Pomerium), there exists a fallback procedure to regain access to the console via a generated recovery token.
To generate a token, run the pomerium-console generate-recovery token command with the following flags:
| Flag | Description |
|---|---|
--database-encryption-key | base64-encoded encryption key for encrypting sensitive data in the database. |
--database-url | The database to connect to (default "postgresql://pomerium:pomerium@localhost:5432/dashboard?sslmode=disable"). |
--namespace | The namespace to use (default "9d8dbd2c-8cce-4e66-9c1f-c490b4a07243" for Global). |
--out | Where to save the JWT. If not specified, it will be printed to stdout. |
--ttl | The amount of time before the recovery token expires. Requires a unit (example: 30s, 5m). |
TIP
You can run the pomerium-console binary from any device with access to the database.
← Quickstart Metrics →
