# Securing Kubernetes Dashboard
The following guide covers how to secure Kubernetes Dashboard (opens new window) using Pomerium. Kubernetes Dashboard is a powerful, web-based UI for managing Kubernetes clusters. Pomerium can act as an independent identity-aware access proxy improving and adding single-sign-on to Kubernetes Dashboard's default access control. This is in contrast to most deployments, which use static tokens for access.

This tutorial covers:
- Deploying Kubernetes Dashboard (opens new window) using Helm (opens new window)
- Establishing secure Kubernetes Dashboard access through Pomerium
# Before You Begin
This guide builds off of existing articles and guides. It assumes you have deployed Pomerium to your cluster using our Helm charts, configured a certificate solution like cert-manager (opens new window), and set up secure access to the Kubernetes API. Follow the instructions in these pages before you continue:
# Background
Though securing Kubernetes Dashboard (opens new window) as an example may seem contrived, the damages caused by an unsecured dashboard is a real threat vector. In late 2018, Tesla determined (opens new window) that the hackers who were running crypto-mining malware (opens new window) on their cloud accounts came in through an unsecured Kubernetes Dashboard (opens new window) instance.

# Install Kubernetes Dashboard
Kubernetes Dashboard (opens new window) is a general purpose, web-based UI for Kubernetes clusters. It allows users to manage applications running in the cluster and troubleshoot them, as well as manage the cluster itself.
Use Helm (opens new window) to install a new instance of Kubernetes Dashboard (opens new window) :
helm repo add kubernetes-dashboard https://kubernetes.github.io/dashboard/
helm install kubernetes-dashboard kubernetes-dashboard/kubernetes-dashboard\
  --set ingress.enabled="false"
That's it. We've now configured the Kubernetes Dashboard in our cluster. We've also explicitly told Helm that we are going to deploy our own custom access to the service through Pomerium instead of a standard ingress.
# Add a Route
Following the configuration defined in Install Pomerium using Helm, add a route for the Kubernetes Dashboard.
Modify
pomerium-values.yamlwith the following route:- from: https://dashboard.localhost.pomerium.io to: https://kubernetes-dashboard.default.svc.cluster.local allow_spdy: true tls_skip_verify: true kubernetes_service_account_token_file: /var/run/secrets/kubernetes.io/serviceaccount/token policy: - allow: or: - domain: is: pomerium.comThe service account token used for
kubernetes_service_account_token_fileis defined by our helm chart (opens new window). Modify the policy to match your configuration.Access to the dashboard for a user is authorized by the cluster role binding defined in role-based access control (RBAC) permissions. Following the User Permissions section of Securing Kubernetes, you should already have permissions for your user, or you can create a new RBAC definition following this example (
rbac-someuser.yaml):apiVersion: rbac.authorization.k8s.io/v1 kind: ClusterRoleBinding metadata: name: cluster-admin-crb roleRef: apiGroup: rbac.authorization.k8s.io kind: ClusterRole name: cluster-admin subjects: - apiGroup: rbac.authorization.k8s.io kind: User name: someuser@example.comApply the permissions with
kubectl apply -f rbac-someuser.yaml.Apply the new route to Pomerium with Helm:
helm upgrade --install pomerium pomerium/pomerium --values pomerium-values.yaml
# Conclusion
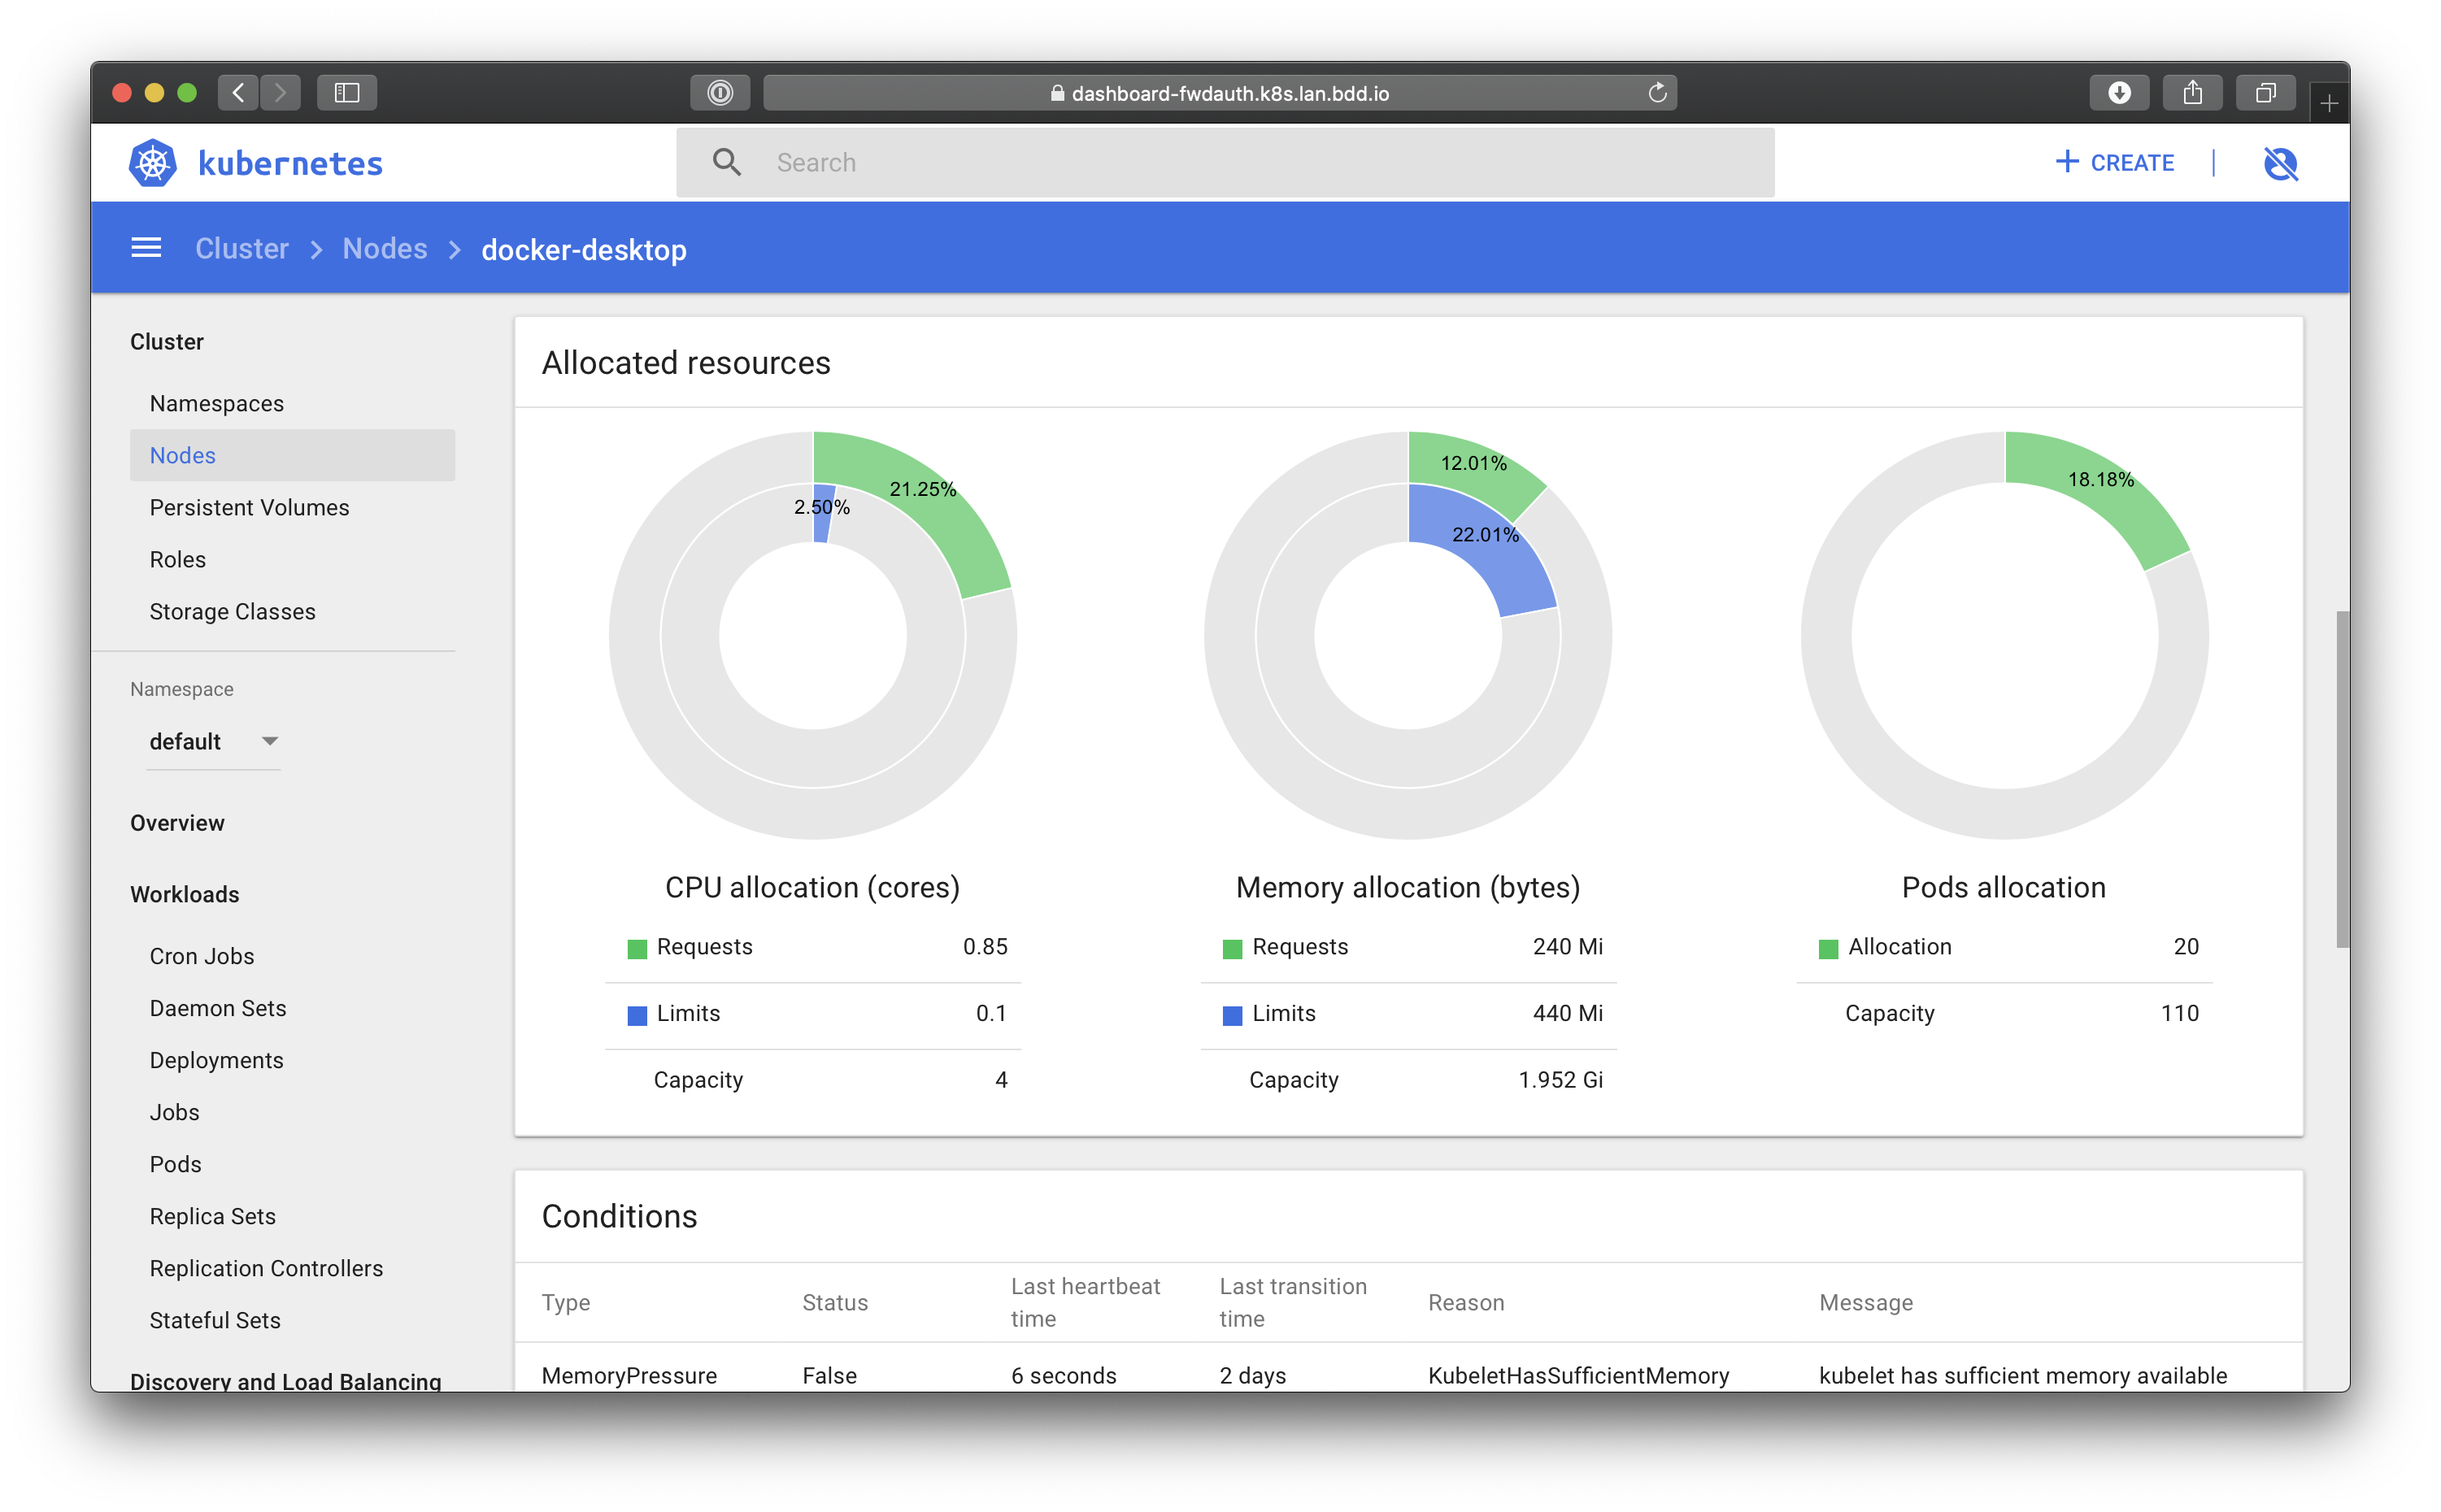
Because we've defined RBAC for our users, they can authenticate with Pomerium and Kubernetes will recognize that user in the Dashboard:
🎉🍾🎊 Congratulations! 🎉🍾🎊 You now have a single-sign-on enabled Kubernetes Dashboard (opens new window) protected by Pomerium.
